Rewrap and Open MP4 in QuickTime on El Capitan
Aug 11, 2015 01:26 am / Posted by Charles Brown
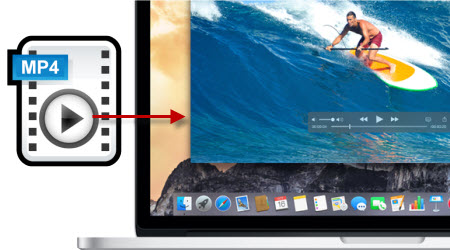
MP4 has become the most popular format used in the majority of devices and media players. But QuickTime's MP4 support is not that good and Mac user may suffer stuttering playback and other issues. If you are confused whether there is a solution to open every MP4 file on QuickTime, you will get your answer over here.
Does QuickTime has MP4 support?
Although the MPEG-4 file format specification was based on the QuickTime format, sometimes QuickTime won't accept MP4 files. According to Apple Support Website, QuickTime can only support MPEG-4 (.mp4, .m4v), but MP4 is a complex video container with various video and audio codecs. That is, if the MP4 video contains QuickTime unsupported audio or video codecs, QuickTime will refuse to play this kind of MP4 files.
Any solution to open every MP4 file on QuickTime?
In order to make every MP4 video acceptable by QuickTime Player, the only solution to rewrap MP4 to QT MOV on Mac if you want to put MP4 videos to Mac QuickTime faultlessly. Without any question, a video converter for Mac can be a timely help.
Here you can rely on iFastime Video Converter Ultimate for Mac since this program not only serves as the best yet MP4 to QuickTime MOV Converter for Mac but also makes perfect synchronization with Mac OS X El Capitan, letting you easily import MP4 video to QuickTime for watching while holding the same video as original. Besides MOV output for QuickTime, it also offers a lot of formats for other devices such as Kindle Fire, iPad, iPhone, Samsung tablets, Apple TV, etc. For windows users, refer to iFastime Video Converter Ultimate. Now, download the software on computer and follow the guide below to start conversion.
Free Download iFastime Video Converter Ultimate for Mac:
How to Make MP4 videos acceptable by QuickTime
One: Click "Add video" button to import MP4 files which you want to transfer to QuickTime. Or simply drop your MP4 videos into the converter.
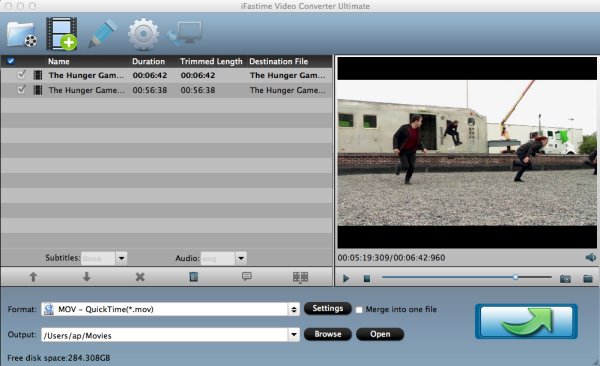
Two: Set output video format as MOV - QuickTime(*.mov) under Format > Common Video.

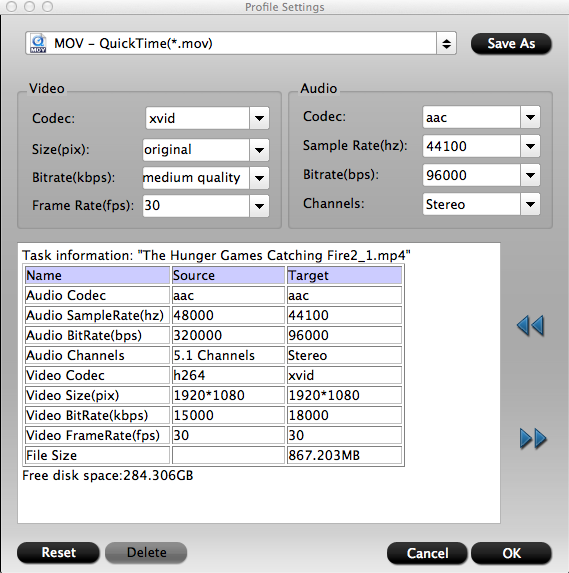
Tip: Before conversion, you can click the Settings icon and adjust the video bitrate, codec, frame rate, audio sample rate, etc parameters.
Three: Finally, tap the "Start conversion" button at the bottom right corner to start the MP4 to QuickTime conversion. After the conversion, you can get the encoded files under "Open" panel. Import the converted MOV files to play in QuickTime.
Now you can open MP4 movies to QT Player without any issue. You can also edit them in Final Cut Pro, iMovie, Avid Media Composer or transfer them to your mobile devices and take them with you wherever you go.
Tip: Create A Screencast With QuickTime And iMovie 10
We'll be using free software that ships on every Mac computer. We'll be using QuickTime for recording our screens and iMovie 10 for editing the videos that were recorded.
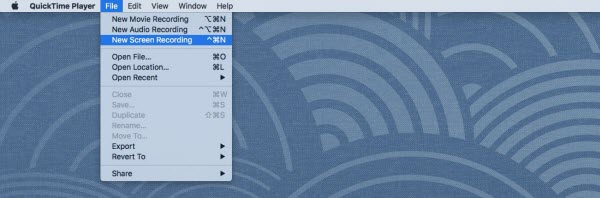
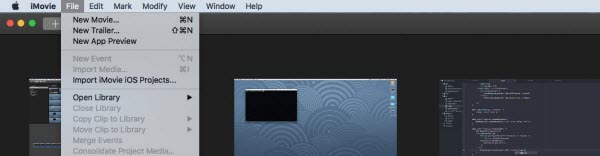
Let's start by opening QuickTime Player for Mac. With it open, choose File -> New Screen Recording from the menu:
This should bring up a small recording dialog with its own menu for choosing the input source. You'll also have the option to show your mouse clicks during the recording. I like this feature because it shows your viewer where you are clicking or what you're trying to do.

After clicking the record button, you will be able to choose to record the entire screen or a part of the screen. My preference is to record the full screen. When you're done recording, you'll have to stop the QuickTime session. In the top right of your screen, in the tool bar, you should see a little stop icon:

When you click it your video will begin processing. Clicking File -> Save will let you actually save it.
At this point, you now have a screencast to work with. It is now time to boot up iMovie and the editing process. This process can be a little time consuming, but you'll get good at it and it won't take much time at all.
With iMovie open, choose File -> New Movie from the menu:
Choose No Theme and give your project a name.
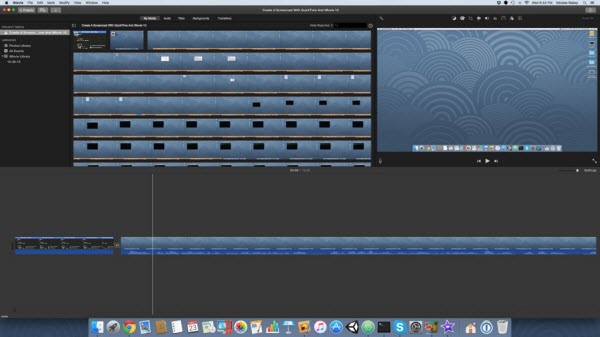
When your project has been created you should see an arrow in the center of the screen that says Import Media. The same can be accomplished by choosing File -> Import Media… from the iMovie menu.
![]()
After choosing to do this, find the movie file produced by QuickTime Player.
Any files imported can then be dragged into the movie timeline at the lower portion of the screen.
During the editing process, should you need to cut a clip, place the tracker at the portion you wish to split and press the Command + b key combination. Other tricks can be done in iMovie such as volume adjustment, zooming in on a portion of the screen, or adjusting playback speed. All of these features I've used at some point in time.
When you're ready to export your project into a movie file that can be uploaded to YouTube, click the share icon at the top right of the screen and share it to file.
Video Tutorial - Make MP4 video acceptable by QuickTime Player
Have more questions about how to open MP4 in QuickTime on El Capitan, please feel free to contact us>>
.Related Articles
5 thoughts on “Rewrap and Open MP4 in QuickTime on El Capitan”
Leave a Reply
You must be logged in to post a comment.
Perfectly handle an extensive list of video file types with impressive output quality on Mac OS X.
Price: $45.95
I have used this product in three different forms, and have been very pleased overall. Wonderful!
Its an amazing video converter i ever seen. It has other features also which make it more compatible to use.
This program is incredible fast, really easy to handle with. Greatly appreciated so much for creating such powerful and effective video converting software.
works great all in one program
I like that the software has simplified the converting process into easy procedures.